
What is Next.js?
Next.js is a powerful, open-source React framework which helps create performant web applications by providing the tooling and configuration, and introducing additional structure, features and optimizations.
However, not only does it come with a ton of additional features but also provides developers with excellent developer experience (DX), making the framework really hard to pass by.
In this article I want to introduce you to the pros and cons of Next.js, and help you set up your next React application with it.
What are the pros of Next.js?
During development
As already mentioned, Next.js provides excellent developer experience, which means that developing a React application with Next.js instead of without is:
- Simpler, as Next.js provides tooling and configuration, and comes with built-in solutions for common application requirements, for example TypeScript and ESLint integration.
- Faster, as it provides hot reload (called Fast Refresh), tooling and configuration out of the box and, therefore, developers do not need to spend time configuring them.
In the production stage
Next.js aims at optimizing the end-user’s experience with the application by introducing performance and SEO optimizations, for example:
- Optimized minifying, bundling and code splitting processes which reduce initial load time by only loading the code required to run the accessed page.
- Two pre-rendering strategies – Server-Side Rendering (SSR) and Static Site Generation (SSG) which can be applied on a page-by-page basis instead of React’s default Client-Side Rendering (CSR). These strategies let you decide whether rendering takes place on the server or on the client depending on your specific use case and, as a result, improve SEO and performance of your application.
- Page-based routing system with support for dynamic routes.
- Out of the box CSS, Sass and CSS-in-JS support.
- API routes to build API endpoints.Optimized variations of native HTML elements which help achieve good Core Web Vitals, directly affecting SEO, for example:
- next/image component which is an extension of native `<img>` element;
- next/link component which should be used as an optimized replacement for native `<a>` element for client-side transitions between routes.
- Additional packages which optimize various aspects of application’s performance, for example:
- next/font component which optimizes fonts used in the application;
- next/head component which enables developers to easily append elements to `<head>` element of the page, such as `<title>` and `<meta>`.
What are the cons of Next.js
As you can see, there are tons of features built into Next.js which can be leveraged to build a performant React application that would fit your specific needs. Are there any cons of using this framework then?
Opinions are divided, however, Next.js’s built-in routing can be perceived as inflexible since it cannot be replaced. Routing in Next.js is file-system based, meaning that routes are created based on the project’s file structure.
How to create a Next.js project?
In this section I want to take you through the process of setting up a project with Next.js. A modern, stable, maintainable and production-ready React application should, in my opinion, be built with:
- TypeScript – for type checking and IntelliSense support;
- ESLint – to catch common issues and problems;
- Jest & React Testing Library – to test your application thoroughly;
- Prettier – to ensure consistent code formatting.
Prerequisites
- Node.js version 10.13 or later
- IDE of your choice
Create a Next.js app
There are plenty of ways a Next.js app can be created. The easiest one is to use the `create-next-app` CLI tool. However, there are lots of official examples created to support your specific needs. We will use the official `with-jest` template (at the time of writing this commit is the latest). If you create your application on top of this example, it will already use TypeScript, Jest and React Testing Library.
First, open the terminal and create a directory for your project. Then, change the current working directory to your newly created directory.
In your terminal execute:
npx create-next-app --example with-jest

# or

yarn create next-app --example with-jest
This interactive tool, once executed, will ask you for the name of your project:
? What is your project named? › my-app
If you hit enter, the default value (here: “my-app”) will be taken as your answer. If you want to provide a custom answer, type it and hit enter. The tool will create a Next.js project with TypeScript, Jest, React Testing Library and all other required dependencies. A configuration file for ESLint will be present as well, however, to support it you will have to install ESLint dependencies because the example lacks them.
Install ESLint dependencies
First, change the current working directory to your newly created project’s directory. Then, execute the following:
npm install --save-dev eslint eslint-config-next eslint-plugin-testing-library
# or
yarn add --dev eslint eslint-config-next eslint-plugin-testing-library
Then, add the following to `scripts` object in `package.json` file:
"lint": "next lint"
You have finished the whole setup. Before you start working on your application, updating `.eslintrc.json` or `jest.config.js` and `jest.setup.js` it is worth verifying that your environment works as expected.
Verify your environment works as expected
Execute the following:
npm run lint

# or

yarn lint
You should see the following output:
✔ No ESLint warnings or errors
Then, execute the following:
npm run test

# or

yarn test
You should see the following output ending:
...

Ran all test suites related to changed files.

Watch Usage

 › Press a to run all tests.

 › Press f to run only failed tests.

 › Press p to filter by a filename regex pattern.

 › Press t to filter by a test name regex pattern.

 › Press u to update failing snapshots.

 › Press i to update failing snapshots interactively.

 › Press q to quit watch mode.

 › Press Enter to trigger a test run.
Last but not least, try to run your development environment by executing the following:
npm run dev

# or

yarn dev
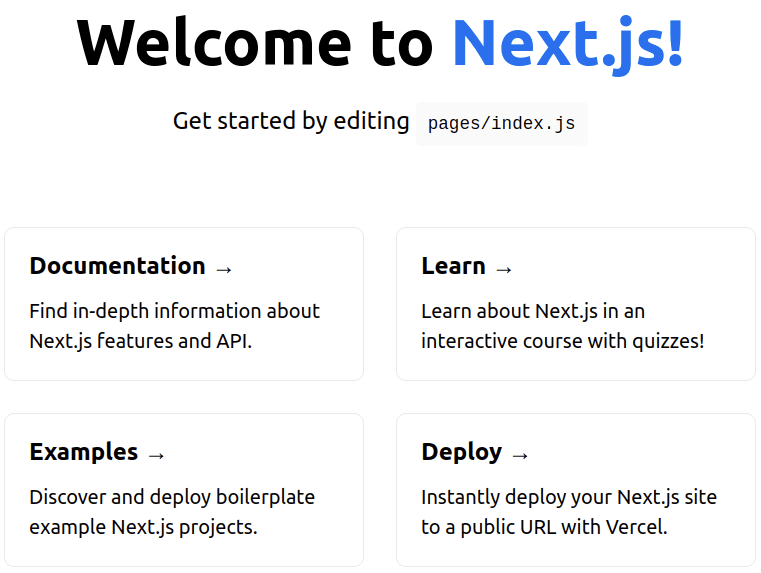
This command should start your development environment at http://localhost:3000. Open your web browser of choice and access this URL. You should see the following:
Add Prettier to your project
Prettier is a great tool which handles code formatting for you so that you can focus on implementing features. To install Prettier execute the following in your terminal:
npm install --save-dev --save-exact prettier

# or

yarn add --dev --exact prettier
To let editors and other tools know you are using Prettier, execute the following to create an empty Prettier configuration file:
echo {} > .prettierrc.json
As ESLint also contains code formatting rules, they can conflict with Prettier setup. Therefore, it is recommended to include `eslint-config-prettier` in ESLint config to make ESLint and Prettier work together. To install `eslint-config-prettier` execute the following:
npm install --save-dev eslint-config-prettier

# or

yarn add --dev eslint-config-prettier
Once the dependency is installed, add Prettier to ESLint configuration by appending the `extends` array in `.eslintrc.json` file, as follows:
{

  …

  "extends": ["next/core-web-vitals", "prettier"],

  …

}
Prettier can now be used to format the application’s code. To learn how to configure its rules and how to run it, follow the official Prettier documentation.
Next steps
Your development environment is now ready and you can start working on your application’s features. Leverage TypeScript, ESLint and Prettier to write bug-free and consistently formatted code. Use Jest and React Testing Library to write tests to ensure your application is working as expected at all times.
To learn more about Next.js and its powerful features read the official Next.js documentation.
Happy coding!
Real-life application
In the last section I want to share how useful Next.js proved to be in a real-life application.
Recently, SolDevelo team has joined forces with Digital Impact Alliance to work on DIAL Catalog of Digital Solutions (read the full case study here). The application was, at the time, in its early production stage. Its frontend has been built with the use of Next.js.
Next.js proved to be a valuable framework for building complex web applications. Developers have leveraged a lot of its unique features to make sure the application is performant and has good SEO. Read along to learn more.
Next.js documentation contains an in-depth guide to implementing good SEO in a Next.js application. The team has followed this guide and, as a result, the following has been done:
- Based on the guide, identified possible areas of improvement.
- Ran Lighthouse audit to find out which Core Web Vitals need improvement and, as a result, wrote down the most valuable insights.
- Prioritized the insights.
- Implemented priority insights:
- To improve performance (improving SEO at the same time):
- Used Next.js image optimization for all images in the application to decrease loading time of pages and decrease network load and traffic;
- Used Core Web Vitals ESLint configuration;
- Replaced Youtube Embedded Player with a facade to decrease the loading time of the homepage.
- To improve SEO:
- Used Server-Side Rendering (SSR) strategy to increase the amount of data available to web crawlers to improve site’s indexing;
- Used Next.js Link component for all links;
- Created missing 404 and 500 error pages;
- Used next-sitemap to introduce sitemap and robots.txt file;
- Used next-seo to add meta tags, metadata and Open Graph tags.
- To improve performance (improving SEO at the same time):
- Ran the Lighthouse audit again to find out if metrics have improved and, it turned out, most of them have.
There is always room for improvement of performance and SEO. It is important to take care of both as they directly affect the application’s success. Good luck!